From Concept to Shipping: The Complete Custom Card Game Manufacturing Process
If you’ve ever held a professionally printed deck of cards and wondered how it went from a sketch on someone’s desk to that perfectly cut, flawlessly finished product in your hands—you’re not alone. I’ve spent the better part of two decades watching this transformation happen on our factory floor in Shenzhen, and let me tell you, the journey is anything but straightforward.
Most creators think making custom playing cards is just “printing some paper and cutting it up.” Reality check: there are easily 15+ distinct steps between submitting your artwork file and receiving a shipment at your warehouse. Skip or rush the wrong环节, and you’ll end up with cards that warp in humidity, bleed through light, or simply feel cheap in the hand.
This guide walks you through the complete custom card game manufacturing process as it actually happens inside an ISO-certified production facility. No marketing fluff. Just the process, the tradeoffs, and the decisions that separate a $3 poker deck from a $50 collector’s item.
[Photo: Overview of a professional card manufacturing facility with printing presses and finishing equipment]
Why Understanding the Process Matters Before You Start Designing
Here’s a hard truth I’ve seen trip up dozens of first-time clients: designers often create artwork without understanding how it will actually be manufactured. Then they discover their brilliant concept is technically unfeasible at their target price point—or worse, gets pushed through production anyway and comes out looking nothing like the mockup.
Let me give you a real example. A client from the UK once designed a tarot deck with ultra-fine gold filigree lines—0.1mm wide lines running across the entire card back. Looked stunning on their 4K monitor. But when we ran the first proof, those lines broke during foil stamping because the minimum survivable line width is 0.2mm. We had to redesign the entire back pattern, which added three weeks to their timeline.
Understanding the card game production workflow upfront saves you from expensive revisions and production nightmares.
[Photo: Close-up of gold foil stamping process on card stock]
Phase 1: Concept and Product Definition
Before any design work begins, you need to nail down some fundamentals. These decisions will haunt you—or bless you—throughout the entire manufacturing process.
Market Positioning Drives Everything
Where you’re selling matters more than you think. Selling to the EU means you’ll need EN-71 compliance. The US market requires CPSIA documentation and often ASTM F963 testing. These aren’t optional extras—they’re entry tickets that affect material choices, ink types, and documentation requirements.
| Target Market | Key Certifications | Timeline Impact |
| European Union | EN-71, CE marking | +2-3 weeks |
| United States | CPSIA, ASTM F963 | +2-4 weeks |
| United Kingdom | UKCA marking | +2-3 weeks |
| General/Other | FSC recommended | +1 week |
Who’s actually playing your game? Children handle cards differently than hardcore TCG tournament players. A game meant for family game night has different durability requirements than a competitive card game where players shuffle hundreds of times per session.
Core Questions to Answer Before Designing
- How many cards per deck?
- Do you need single-sided or double-sided printing?
- Will cards need to hide information (this determines your core material)?
- Are you building rarity tiers (common, rare, holographic)?
- What’s your budget per unit?
We’ve seen Kickstarter campaigns fail because creators priced themselves out of viability or, conversely, chose materials that made their $50,000 project look like a $5 gas station deck. Getting these parameters right from day one is crucial.
[Photo: Product planning meeting with sample cards and material swatches]
Phase 2: Design and Artwork Preparation
Now we’re getting into the meat of the process. But before your designer opens Illustrator, there are some critical specifications to lock down.
Standard Card Sizes and When to Use Each
| Size | Dimensions (mm) | Best Use Case |
| Poker | 63 × 88 | Most versatile—good balance of artwork space and hand feel |
| Bridge | 57 × 88 | When players hold multiple cards in one hand |
| Mini | 44 × 67 | Token cards, status indicators, space-saving designs |
| Tarot | 70 × 121 | Fortune-telling decks, large artwork pieces |
| Square | 63 × 63 | Unique game mechanics requiring equal dimensions |
| Custom | Variable | Requires new die cutting; higher MOQ and cost |
For most tabletop games, poker size hits the sweet spot. Bridge size exists because serious bridge players hold 13 cards in one hand and need something narrower—it’s a niche market but a loyal one.
File Preparation: The Details That Kill Projects
Here’s where we see the most preventable errors. Your artwork file needs to follow these specifications exactly:
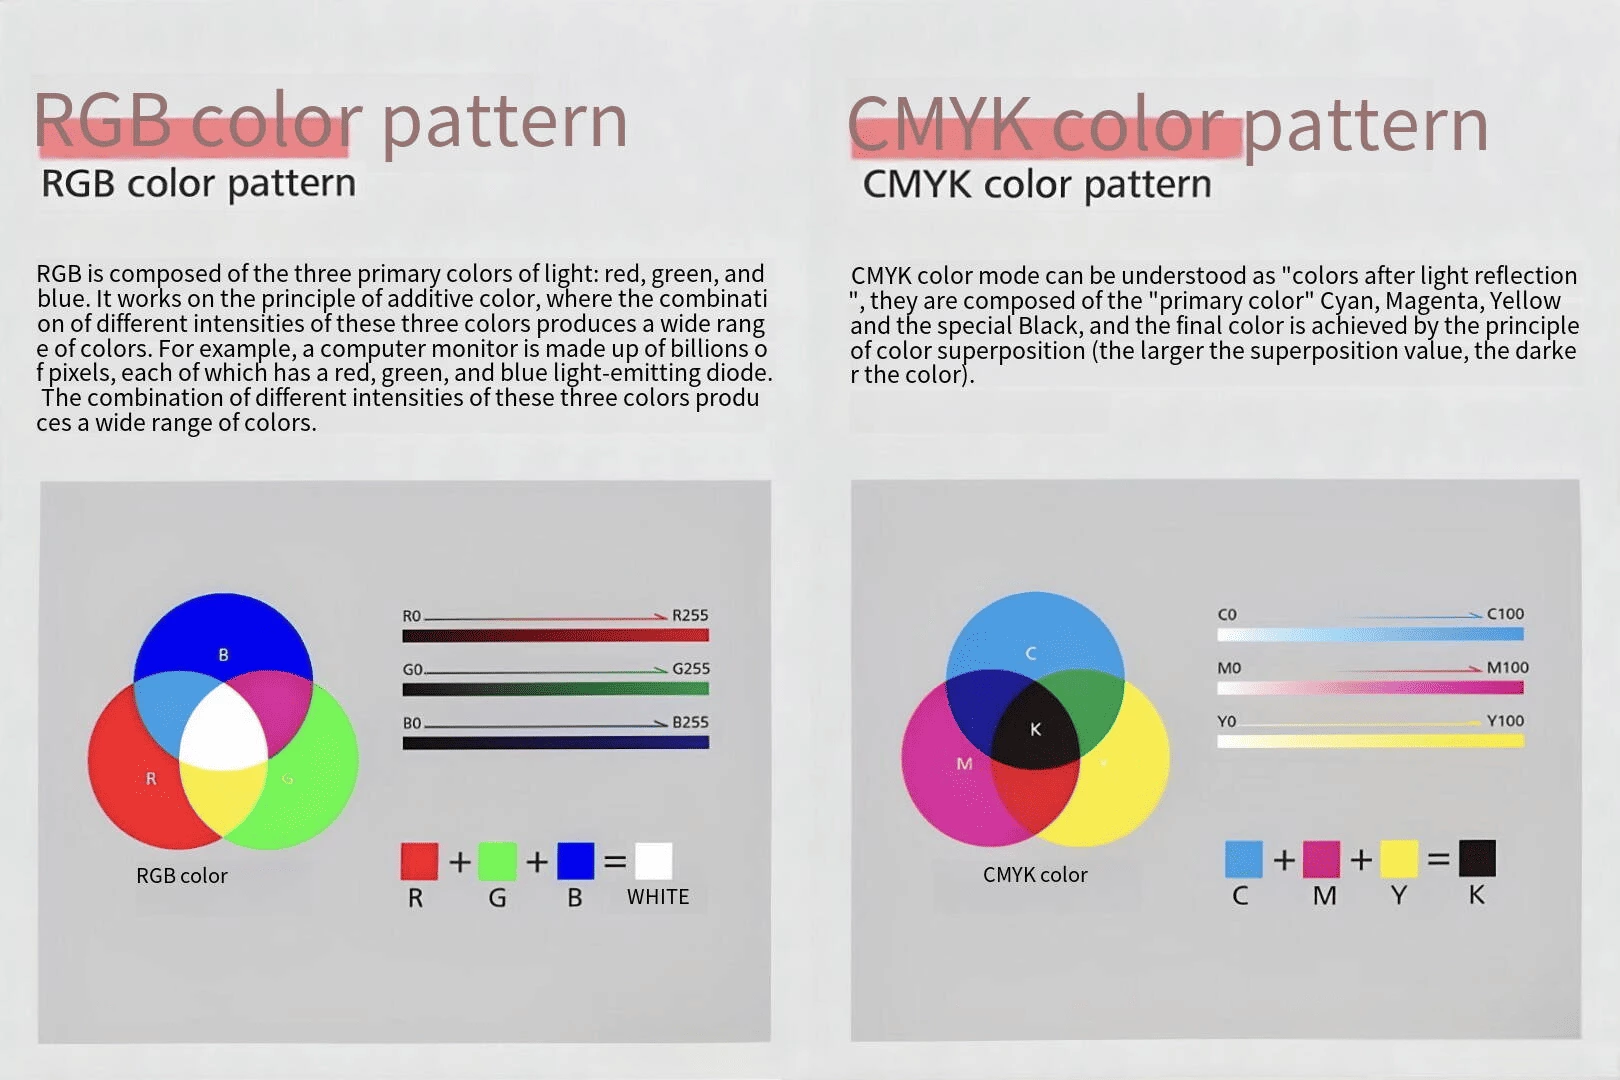
- Format: PDF is king. TIFF for raster images. Never send RGB files—everything must be CMYK.
- Resolution: Vector elements preferred. If using raster, minimum 300 DPI. For collector-grade prints, 600 DPI.
- Bleed: 3mm on all sides. Non-negotiable.
- Safe zone: Keep critical content at least 3-5mm inside the trim line.
- Fonts: Convert to outlines or embed. Never rely on system fonts.
- Spot colors: Provide Pantone numbers or specific CMYK values with tolerance ranges.
One mistake we see constantly: designers put white text on dark backgrounds without understanding how this translates to print. That #FFFFFF text looks crisp on screen but can suffer registration issues during printing. White text should be treated as a spot color in many workflows.
For double-sided designs, you need perfect alignment between front and back. We typically require a “fold/trim” centered layout where the back design mirrors the front around the vertical axis.
[Photo: Artwork file layout showing bleed marks, safe zones, and front/back alignment guides]
The Reverse-Printing Trap
If your game involves hidden information—cards where you don’t want players to see the back through the front—your artwork strategy changes entirely. Dark, saturated areas on card faces create visibility problems when light passes through. We recommend lighter designs with controlled color density, or switching to opaque core materials like black core stock.
Phase 3: Material Selection—The Decision That Defines Your Product
Here’s where the custom playing cards manufacturing process splits into vastly different paths. The material you choose affects everything: print quality, durability, feel, cost, and even the shuffle experience.
Understanding Card Core Materials
This is the most consequential decision in the entire process, and most buyers understand it the least.
Black Core Cards represent the gold standard for serious card games. The structure—two outer paper layers with a black core sandwiched between—creates complete opacity. No light penetrates. No matter how you hold them up to a lamp, you can’t see through to the other side. This matters enormously in games where card backs must hide information.
The feel? Firm, substantial, with that satisfying “snap” when you flick a card. We ran 10,000 TCG tournament decks last quarter using 330gsm black core, and the feedback was consistent: these cards feel like they belong in competitive play.
Downsides: black core costs 15-25% more than blue core, and the black core layer absorbs some light, which can make print colors appear slightly more subdued than on other cores.
Blue Core Cards hit the sweet spot for most tabletop games. The blue-tinted core provides excellent opacity while allowing better color reproduction than black core. Colors pop more vibrantly. The material has good snap and shuffle characteristics without the premium price tag.
For a brand launching their first custom card game—neither a casino nor a collector’s item—blue core with linen texture is often the optimal choice. We estimate roughly 60% of our first-time clients end up selecting this combination.
Grey Core Cards sit at the budget end. The grey core provides moderate opacity—you’ll see light transmission in bright conditions. They’re softer, more prone to wear, and honestly, they feel cheaper in hand. But if you’re printing promotional decks, convention giveaways, or single-use game components, grey core brings costs down significantly.
Art Paper / Coated Stock breaks the mold entirely. No core layer—just thick, coated paper. This means zero opacity, but the color reproduction is exceptional. Tarot decks often use this because they’re rarely shuffled vigorously and the image quality matters more than opacity. Some designers specify art paper specifically because they want that slightly different texture and bend characteristics.
PVC Plastic exists for specialized applications: children’s games, outdoor use, medical settings where cards need to be washable. The tradeoffs are significant: higher cost, environmental concerns, different manufacturing requirements, and a feel that purists will immediately identify as “not paper.”
[Photo: Cross-section comparison of different card core materials showing internal layers]
Weight, Thickness, and the Numbers That Actually Matter
People obsess over GSM (grams per square meter) but often miss the more important metric: actual thickness measured in microns or millimeters.
| Weight (gsm) | Typical Thickness | Best Used For |
| 270-280 | 0.28-0.30mm | Promotional cards, single-use items |
| 300 | 0.33mm | Standard tabletop game cards |
| 310-330 | 0.31-0.36mm | Poker decks, TCG cards, most premium games |
| 350 | 0.38-0.42mm | Tarot decks, collector editions |
Two cards with the same GSM can have different thicknesses depending on their core construction. Always request thickness measurements, not just weight specifications.
Phase 4: Printing Technology Decisions
Your material choice influences printing method, and your volume requirements influence both.
Offset vs. Digital Printing
Offset printing (胶印) uses plates to transfer ink onto paper. It’s the workhorse of high-volume card production. The setup costs are substantial—every color requires its own plate—but per-unit costs drop dramatically at scale. For runs of 500+ decks, offset becomes the economical choice.
The quality is exceptional. Color accuracy is superb, and you can use Pantone spot colors for exact brand matching. Our Heidelberg presses achieve registration accuracy within ±0.1mm, which is critical for double-sided work.
Digital printing skips the plates entirely. Files go directly from computer to press. Setup costs are minimal, making it ideal for short runs, prototypes, and personalized cards. The tradeoff is slightly narrower color gamut and higher per-unit cost.
For runs under 500 units, digital makes sense economically. Above that threshold, offset pulls ahead. One nuance: digital printing can’t reproduce some specialty effects like metallic foils or raised UV (though some digital systems can simulate foil with metallic toners—it’s not the same, but it’s an option).
[Photo: Industrial offset printing press in operation]
The Surface Treatment Layer
Every card needs surface treatment. Skipping it leaves you with ink that smears, cards that stick together, and products that absorb moisture and warp. It’s non-negotiable.
Varnish (过油) is the baseline. A thin protective coating seals the ink and provides the surface feel. You have choices:
- Glossy varnish: High shine, enhanced color vibrancy, but reflects light and shows fingerprints
- Matte varnish: Soft appearance, easy to view in any lighting, hides fingerprints
We recommend matte for nearly all game cards. The reduced glare actually improves playability—players aren’t looking at their cards under ideal lighting conditions.
Lamination adds a complete plastic film layer. It provides superior protection but adds noticeable thickness and changes the card’s flexibility. Most serious playing cards use varnish, not lamination, because the added thickness affects shuffle feel.
Texture and Feel: The Linen Question
Beyond protective coatings, texture embossing transforms how cards feel and perform. The most common option is linen finish—a crosshatch pattern pressed into the paper surface.
Why does linen matter so much? Three reasons:
- Shuffle performance: The texture creates micro-air-pockets between cards, allowing them to slide past each other smoothly even after heavy use
- Durability: Texture disperses impact stress, extending card life
- Feel: Professional card players swear by linen. It just feels right.
The tradeoff is slight color desaturation—the texture scatters light, making colors appear marginally softer. For most designs, this trade-off is imperceptible. For photo-realistic imagery with critical color accuracy requirements, you might prefer smooth finish.
[Photo: Linen texture embossing rollers and finished cards showing the crosshatch pattern]
Phase 5: Specialty Finishing—Where Cards Become Collectibles
Basic printing and coating gets you a functional deck. Specialty finishes transform cards into premium products—and they’re where the real markup lives in collector markets.
Foil Stamping
Heat and pressure transfer metallic foil onto your card surface. The result is genuine metallic luster that digital printing simply cannot replicate.
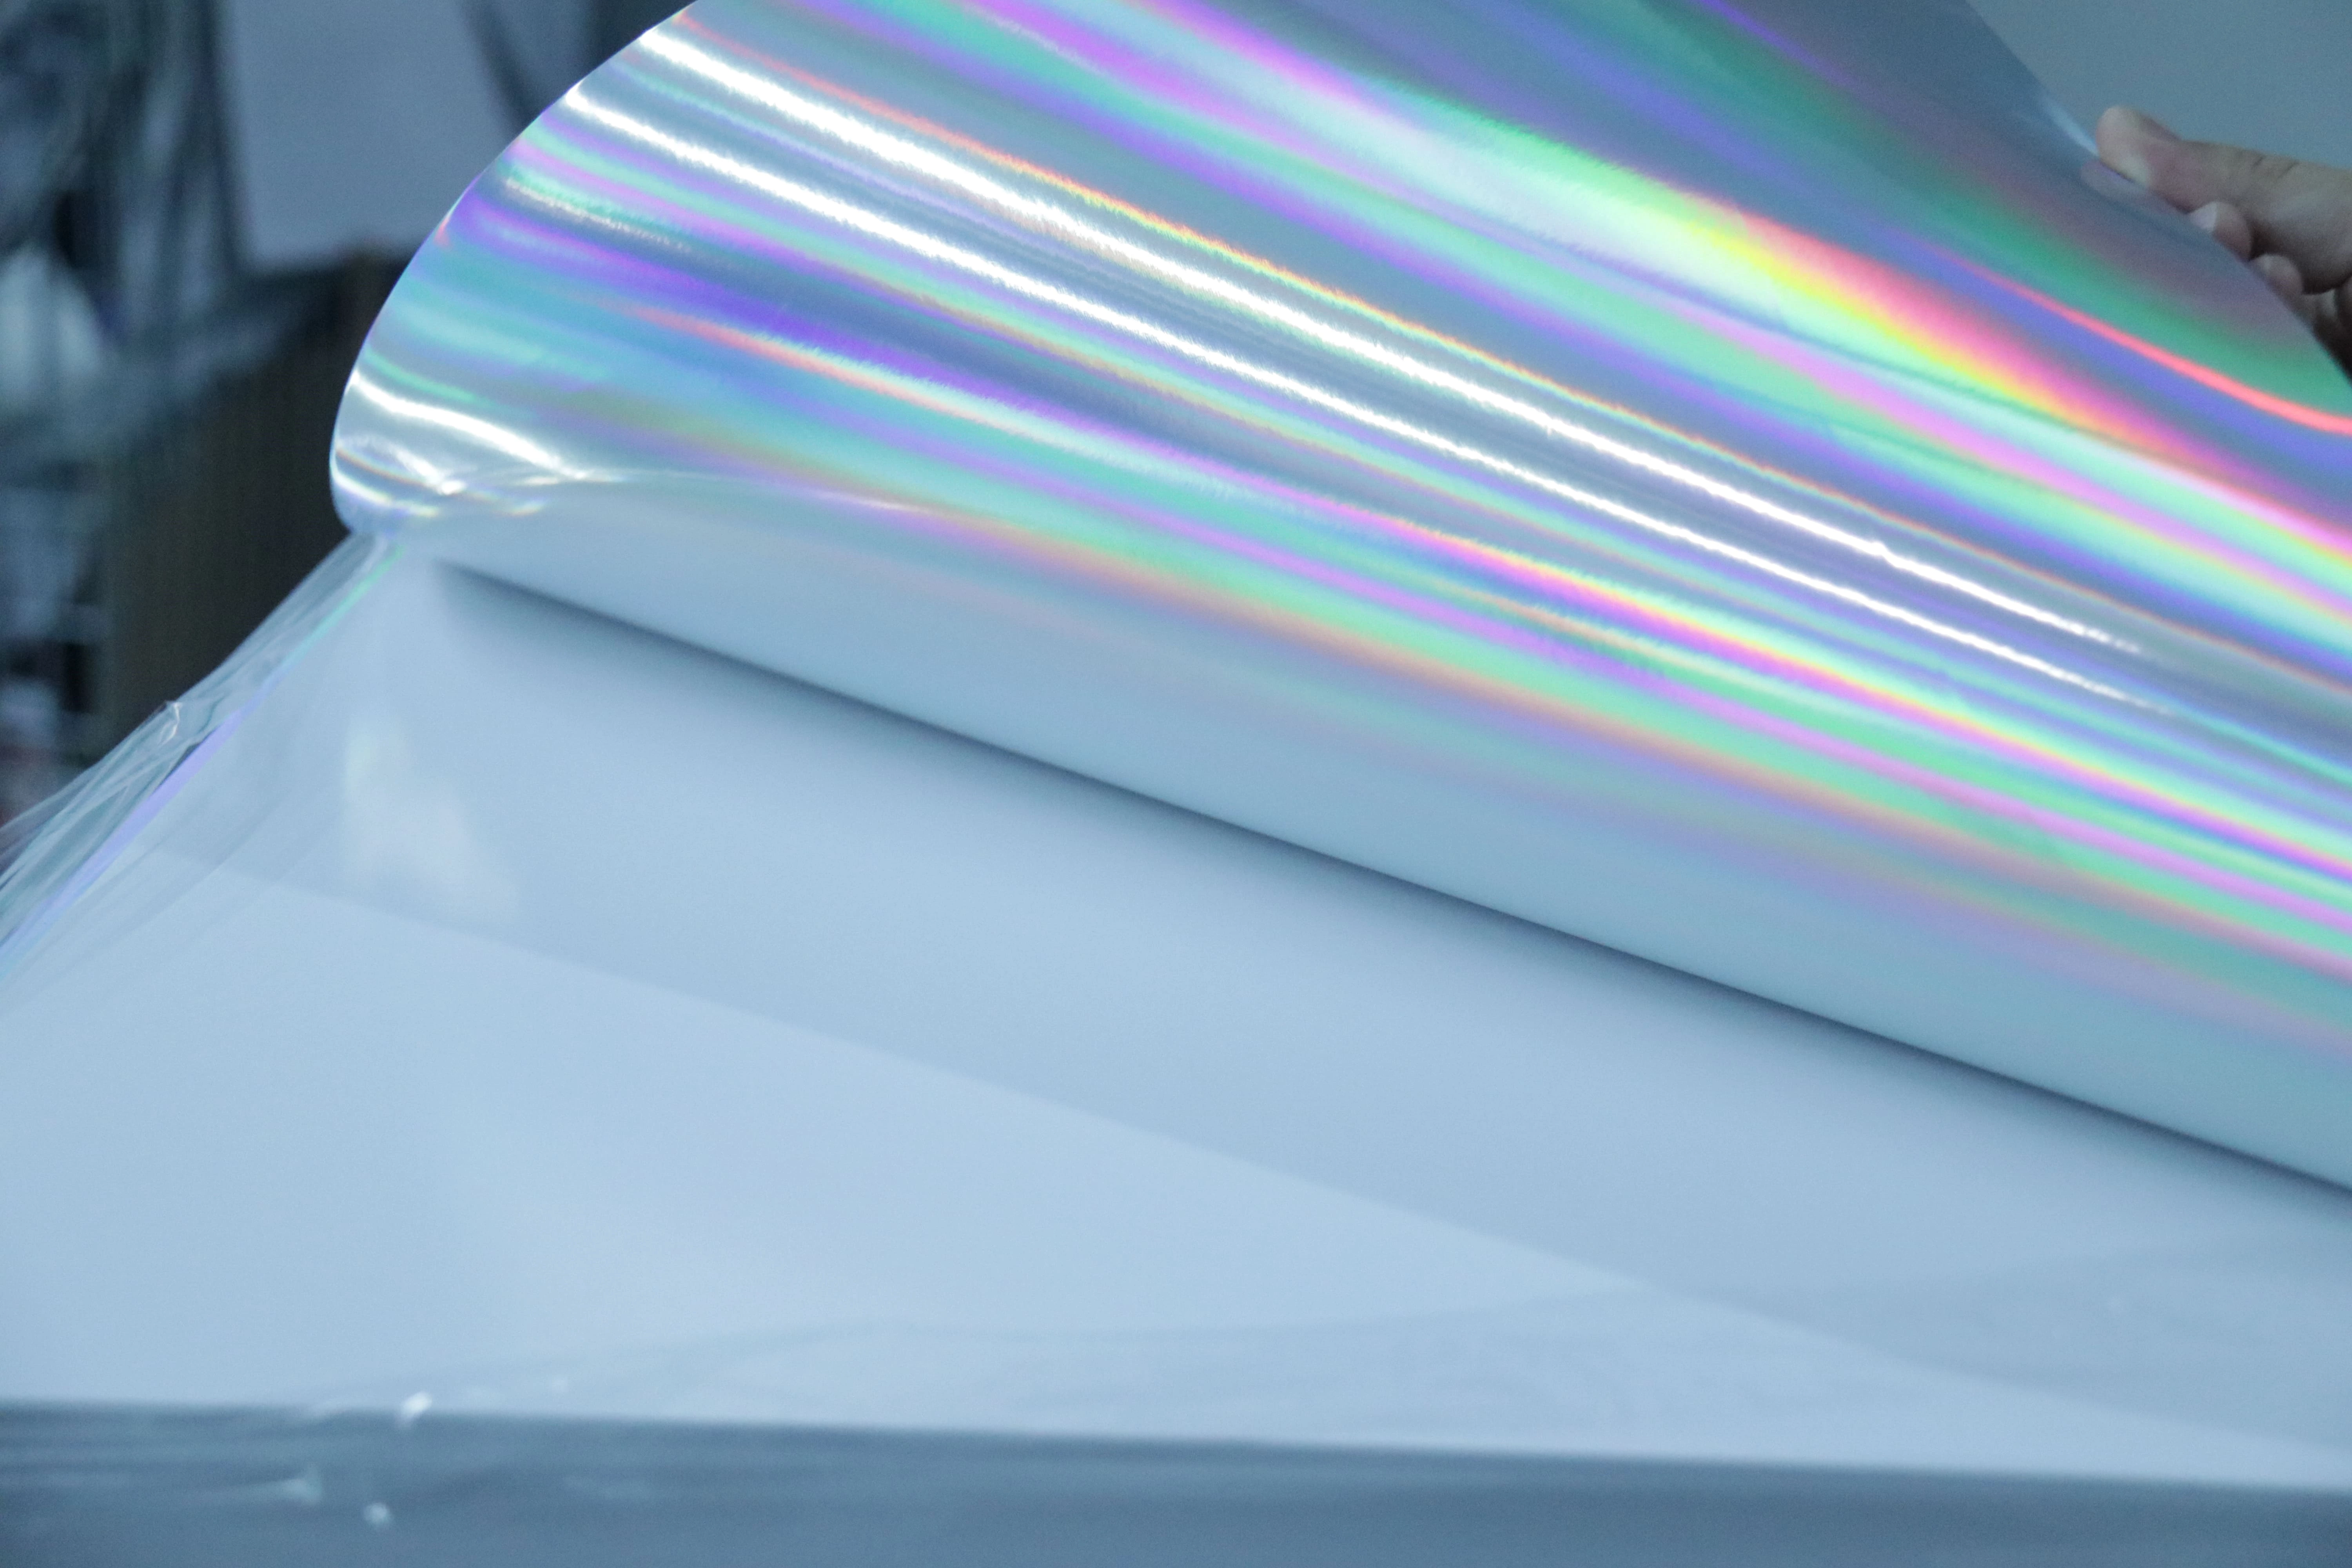
Available options: gold, silver, holographic rainbow, copper, blue, green, and custom mixes. Registration must be precise—foil needs to align with printed elements to within fractions of a millimeter.
Design constraints: minimum line width of 0.2mm, minimum text size of 8pt, and foil areas shouldn’t sit directly adjacent to raised UV areas (maintain 0.5mm spacing minimum).
One insight from the factory floor: foil and UV work beautifully together. Apply foil first, then cover portions with crystal UV. The result is a “jeweled” effect where the metallic surface catches light beneath a glossy dome. TCG collectors go wild for this combination.
UV Coating and Effects
UV coating creates raised, glossy spots on your cards. Unlike overall varnish which covers everything, spot UV targets specific areas.
Options include:
- Standard spot UV: Subtle raised effect, 0.03-0.05mm thickness
- Crystal UV: Heavy raised effect up to 0.3mm, dramatic 3D appearance
- Matte UV: Textured, non-glossy raised areas
- Color-shift UV: Pigment shifts color based on viewing angle
For TCG card design, spot UV often serves as a rarity indicator. Common cards get plain surfaces, rare cards get spot UV on key artwork elements, and ultra-rare cards might get crystal UV on character portraits.
[Photo: Comparison of cards showing different finishing levels: matte only, spot UV, foil + crystal UV]
The Specialty Finish Decision Matrix
| Product Level | Recommended Finish Combination |
| Entry-level tabletop | Blue/grey core + matte varnish |
| Mid-range game | Blue core + linen texture + matte varnish |
| Premium TCG | Black core + linen + foil stamping + spot UV |
| Collector edition | Black core + linen + foil + crystal UV + holographic |
| Tarot/Oracle | Art paper 350gsm + glossy varnish (or art paper + matte) |
Phase 6: Die Cutting and Edge Work
Once printed and finished, cards need to be cut to their final dimensions. This phase separates amateur production from professional output.
Die Cutting: Precision at Scale
Modern card manufacturing uses steel rule dies in either flat-bed or rotary cutting systems.
Flat-bed die cutting offers ±0.2mm precision. Cards are fed in sheets through a press where steel rules punch through. It’s slower than rotary but handles more complex shapes.
Rotary die cutting achieves ±0.15mm precision and runs at higher speeds. Cylindrical dies rotate continuously as paper feeds through. For straight rectangular or rounded-rectangle cards (which is most of them), rotary is the standard.
For extremely precise work or custom shapes, laser cutting can achieve ±0.1mm accuracy, though at higher cost and lower speed.
Critical spec: register through-cutting means cutting front and back in perfect alignment. With double-sided cards, any deviation means your front artwork and back design won’t align correctly. We target ≤0.2mm deviation on this.
Corner Radius: Small Detail, Big Feel
The rounded corners on playing cards aren’t just aesthetic—they’re functional. Sharp corners would tear, catch on sleeves, and jab fingers during rapid shuffling.
Standard corner radii:
- R3mm: Sharpest acceptable radius, common on poker cards
- R4mm: Balanced feel, our most common specification
- R5mm: Softest feel, maximum comfort for extended play
For TCG products that will be sleeved (sleeves add ~0.5mm thickness per card), R3mm corners fit more comfortably. For bare-hand play, R4mm or R5mm feels better.
Edge Treatment: The Forgotten Detail
Here’s something many manufacturers skip: edge finishing. After die cutting, card edges often have microscopic fiber fraying, especially with textured paper.
Proper edge treatment involves:
- Pressure-controlled cutting: Minimizes fiber disruption during the cut
- Edge pressing: Compresses exposed fibers
- Optional edge coloring: For black core cards, applying black coating to edges prevents the “white fringe” effect when cards are viewed at angles
We’ve had clients specifically request edge coloring for premium products. Yes, it adds cost, but the visual coherence when holding a deck—where the edges match the card faces—creates an unmistakably premium impression.
[Photo: Die cutting machine in operation, showing steel rules and card separation]
Phase 7: Quality Control—The Process That Separates Factories from Partners
Quality control isn’t a final inspection—it’s woven throughout the entire manufacturing process. Here’s how professional facilities approach it.
Inspection Points Throughout Production
Incoming Quality Control (IQC): Every batch of card stock gets verified before production begins. We check basis weight (±5%), caliper/thickness (±5%), moisture content (5-8%), and visual appearance.
First Article Inspection (FAI): When a job first starts, the first completed units get measured against specifications. Color density, registration accuracy, dimensions—everything gets documented.
In-Process Sampling: During production runs, operators pull samples every 1-2 hours. Any drift from specifications triggers an immediate stop for correction.
Final Inspection: Every completed unit gets examined. For high-value products, this means 100% inspection. For standard runs, AQL sampling applies.
AQL Standards in Practice
Acceptable Quality Level (AQL) defines acceptable defect rates. For playing cards, we typically apply these standards:
| Defect Type | Severity | Typical AQL |
| Printing errors (wrong content, missing elements) | Critical | 0 (zero tolerance) |
| Dimensional errors, registration problems | Major | 0.65% |
| Color deviation beyond tolerance | Major | 0.65% |
| Visible light transmission (core failure) | Major | 0.65% |
| Minor spots, scratches | Minor | 2.5% |
| Edge roughness, minor burrs | Minor | 2.5% |
That “zero tolerance” for critical defects means even one card with the wrong text or a missing element can reject an entire batch. We’ve scrapped thousands of cards over single-character typos.
Functional Testing
Beyond visual inspection, we perform mechanical tests:
- Shuffle durability: 50-cycle shuffle test, cards must show no visible damage
- Flex recovery: Cards bent to 30° must return to flat within 1 second
- Peel adhesion: Coating adhesion tested via tape pull (≥1.5N/15mm)
- Light transmission: Each card checked under backlighting for opacity
- Humidity exposure: 24-hour exposure to 85% RH environment, checked for warping
[Photo: Quality control technician performing light transmission test on finished cards]
Phase 8: Packaging and Assembly
Cards might be perfect, but bad packaging destroys the unboxing experience and creates shipping damage. This phase deserves more attention than it usually gets.
Packaging Options by Product Level
Shrink wrap (热缩膜): The baseline. Individual decks wrapped in heat-shrink plastic. Inexpensive, functional, but offers no crush protection.
Tuck boxes: Pre-glued folding cartons with a tuck-in flap. The standard for poker decks. Cost-effective, recyclable, reasonably protective.
Rigid boxes: Laminated chipboard with paper covering, often with magnetic closures. Premium feel, excellent protection, higher cost. Standard for collector TCG products.
Tin boxes: Metal containers popular for travel sets and limited editions. Exceptional protection, unique presentation, reusable container appeal.
Custom inserts: For multi-deck sets or games with tokens and dice alongside cards, custom foam or pulp trays protect components during shipping and display nicely on shelves.
For tuck box assembly, we perform “shake tests”—sealed boxes rotated and shaken to ensure cards don’t shift. Movement indicates insufficient friction between cards and box, which leads to damage during shipping.
Shrink Wrap Temperature Control
This sounds trivial but creates problems when mishandled. Shrink film that gets too hot during application can transfer heat to cards, causing temporary warping that might not fully resolve. We monitor conveyor speeds and heat settings carefully for each card material thickness.
Shipping Packaging
For international freight, individual deck boxes pack into outer cartons with:
- Corner protectors
- Weather-resistant inner bags (polyethylene for sea freight)
- Desiccant packs for humidity protection
- “This Side Up” and weight markings
Cartons should stack no more than 5 high to prevent crushing. We’ve seen gorgeous production runs arrive as crushed cardboard disasters because someone ignored stacking limits.
[Photo: Professional packaging line with tuck box folding, wrapping, and quality inspection]
Phase 9: Shipping and Delivery
The final step: getting your cards from Shenzhen to wherever you need them.
Shipping Method Tradeoffs
| Method | Transit Time | Cost Level | Best For |
| Express courier (DHL/UPS/FedEx) | 3-7 days | High | Samples, urgent reorders |
| Air freight | 5-10 days | Medium-high | Time-sensitive orders under 500kg |
| Sea freight (FCL - full container) | 25-40 days | Low | Large orders, regular production |
| Sea freight (LCL - shared container) | 30-45 days | Medium | Moderate volumes, less frequent |
For most production runs, sea freight makes sense despite the longer transit. Cards are relatively light and compact—you can fit substantial quantities in a 40HQ container. A client shipping 10,000 decks to Los Angeles via sea freight might pay $0.15-0.25 per deck in shipping; via express, that number jumps to $2-4 per deck.
Documentation Requirements
International shipping requires paperwork:
- Commercial invoice with declared values
- Packing list with carton counts and weights
- Certificate of origin
- Testing certificates (EN-71, CPSIA, etc.) for regulated markets
- Material safety data sheets if requested
Missing documentation creates customs delays. We’ve seen containers sit at ports for weeks because paperwork didn’t match contents or was incomplete. Double-check everything before your shipment departs.
Pre-Shipment Inspection
Before containers seal, we conduct final verification:
- Order quantity matches PO
- Packaging integrity (no crushed boxes, broken seals)
- Labels correct (product name, quantity, barcodes)
- Required documents included
- Sample from each production batch retained for reference
[Photo: Shipping container loading with properly marked cartons and protective packaging]
Bringing It All Together
The custom card game manufacturing process spans concept to delivery with remarkable complexity. Understanding each phase helps you make better decisions, communicate more effectively with manufacturers, and ultimately produce a better product.
Key takeaways:
- Define your market and product tier upfront. This drives every subsequent decision about materials, printing, and finishing.
- Prepare artwork to specification. The time spent getting files right before production prevents expensive mistakes during production.
- Choose materials based on actual use requirements. Black core isn’t always better than blue core—it depends on your game’s actual needs.
- Treat finishing options as strategic decisions. Foil and UV aren’t just decoration—they communicate value and differentiate products.
- Build quality expectations into your agreements. AQL standards, inspection protocols, and defect handling procedures should be documented.
- Plan logistics early. Shipping method affects both cost and timeline in ways that surprise first-time importers.
Whether you’re launching a Kickstarter campaign, building a retail product line, or sourcing components for an established brand, the fundamentals remain consistent. The devil is in the details, and now you understand those details better than most people in the industry.
Ready to start your custom card game production? As an ISO certified card factory with 19 years of experience, we handle everything from initial compliance consultation through production and international shipping. Our custom card games division serves clients across Europe, North America, the Middle East, and beyond.